Schengen Visa Refused? How to Reapply Stronger: A Guide for Filipinas Visiting a Partner
By Gene, Schengen Visa Coach
Refused a Schengen visa? Learn how to read your refusal letter, fix what went wrong and reapply stronger. A guide for Filipinas visiting a partner.

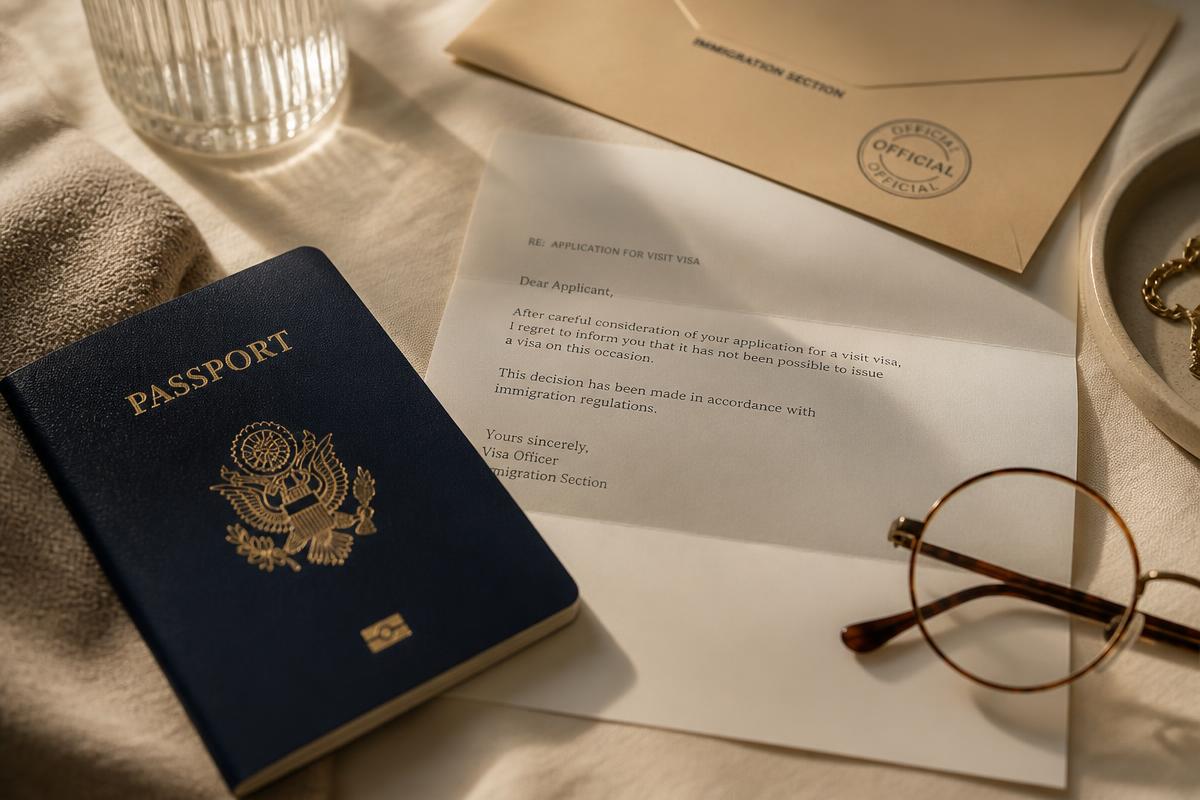
If you're reading this, you probably opened a letter that said your Schengen visa was refused. Maybe you cried a little. Maybe you're still angry. Maybe you felt like you wasted time and money. That’s normal.
I want you to let you know that a refusal feels personal, but it's a decision about a file, not a verdict on you or the relationship you have. And a file can change.
This article walks you through what to do next, in order. It can't guarantee a different result, because only the consulate decides. But it can help you stop repeating the same mistakes.
Can you reapply after a Schengen visa refusal?
Generally, yes. As far as I know, the EU's Visa Code doesn't set a mandatory waiting period before you submit a new application, and consulates handle repeat applications according to their own rules. The important question isn't how soon can I apply? It's what is different this time? Always check the current requirements of the consulate or visa center handling your application.
Step 1: Read your refusal letter carefully
Your refusal notice lists the reason or reasons the consulate gave. Find the ones that are ticked. They usually point to one of these areas:
- The purpose or conditions of your stay weren't clear or didn't seem reliable. Your story, dates or documents may not have matched.
- Your means of subsistence weren't shown clearly. This includes cases where there is a sponsor. Read why a sponsor with €100,000 can still lead to a refusal.
- Your intention to return wasn't established. This is the "ties" problem. See refusal reason #13 and how to show intent to return without property, and how to prove ties without a job.
Keep a copy of the letter. You'll need it, and some consulates ask for it.
Step 2: Diagnose your file objectively
Pull out your previous application and ask yourself:
- Could I explain my purpose of travel in one clear sentence?
- Did my relationship evidence match what I wrote?
- Was it clear who was paying, and could I prove it?
- Did my documents agree on dates, amounts and names?
- Did I show real ties to the Philippines?
Where the answer is no, you've found your starting point. The 15-point readiness checklist can help you check your file again.
Step 3: Appeal or reapply?
Applicants who are refused generally have the right to appeal, following the national rules of the country that refused them. Your refusal notice should say how and by when, and deadlines can be short. Appeals can take a long time and depend on the country.
Many applicants choose to reapply with a stronger file, because a new application lets them present new evidence and a clearer story. This is a personal decision, and I'm not a lawyer. If you're thinking about an appeal, read the instructions on your refusal notice and the consulate's official guidance first.
Step 4: Don't resubmit the same file
Sending the same documents again usually gets the same decision. Change what the refusal points to:
- If ties were the problem: map every connection you have to the Philippines (work or freelance income, family responsibilities, studies, financial responsibilities) and document each one. Don't invent ties or create documents that don't reflect your life.
- If your finances or sponsor were the problem: make the sponsorship arrangement and the funds clear, and make sure your own documents match.
- If your story was unclear: simplify it, and make sure your cover letter explains the purpose, relationship and travel plan consistently.
- If your documents didn't match: run a consistency audit on dates, names and amounts.
Step 5: Be honest about the earlier refusal
If your application form or the consulate asks about a previous refusal, answer truthfully. Hiding information can lead to another refusal and can make future applications harder. A clear, honest file that shows what has changed is much stronger.
Step 6: Choose your timing
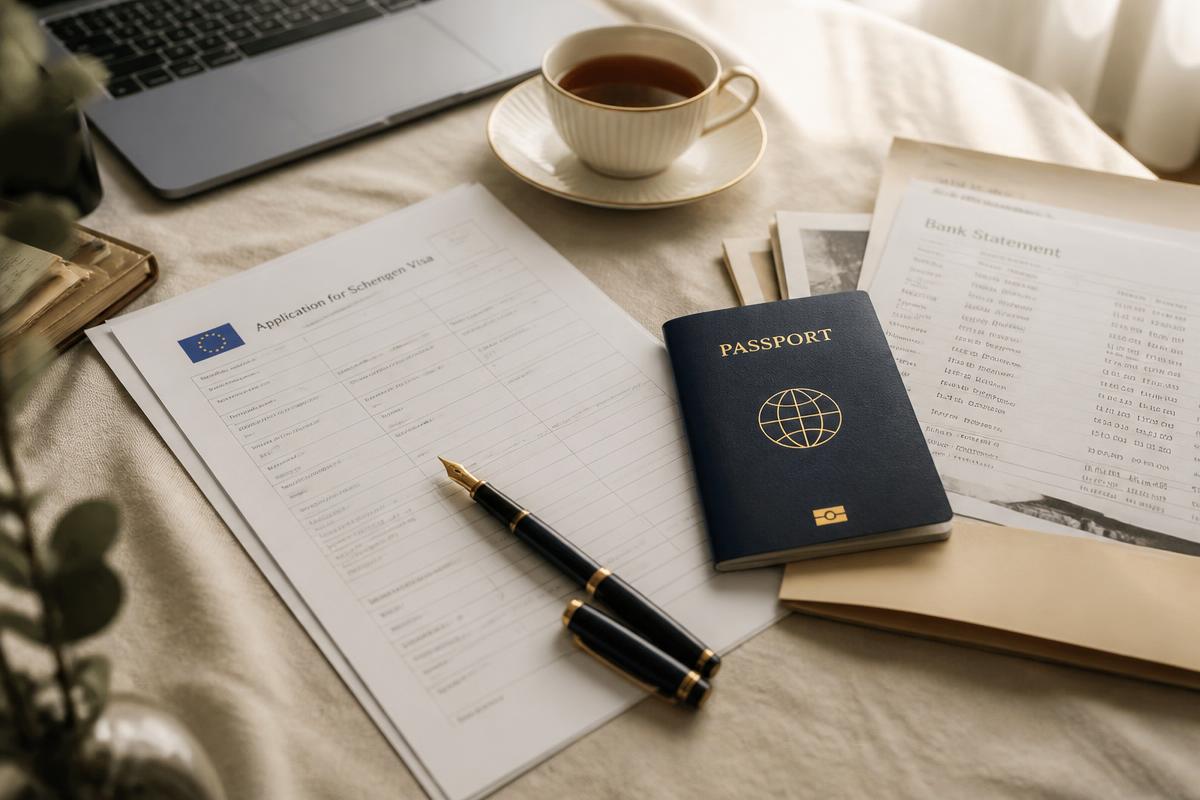
There's no fixed rule for how long to wait. Reapply when your situation has changed or your file is stronger. Starting your preparation early gives you time to gather documents and fix weak spots. Read how to prepare a Schengen visa application in 30 days.
Common mistakes after a refusal
- Reapplying immediately with the same documents
- Ignoring the reason on the refusal letter
- Copying a cover letter from someone else
- Adding documents that make the file thicker but not clearer
- Letting your sponsor's documents overshadow your own situation
Rebuild your file step by step
If you'd like guidance, the 30-Day Schengen-Ready Challenge turns this process into one lesson and one small task a day. Week 2 builds your Proof of Ties Map and Week 3 checks that your documents tell one consistent story. It includes an application workbook and a cover letter workbook with sample letters and templates, and it's self-paced.
Not sure why you were refused? Book a free Readiness Call, or download the free Proof of Ties guide.
Frequently asked questions
Can I reapply for a Schengen visa immediately after a refusal?
As far as I know, there's no mandatory waiting period, but check the current rules of the consulate handling your application. Applying again with the same file is unlikely to change the result.
Will a previous refusal affect my next application?
Consulates can see earlier applications, so be honest. A clearer, better-documented file shows the consulate what has changed.
Should I appeal or reapply?
It depends on your case and the country that refused you. Check the instructions on your refusal notice, and consider legal advice if you want to appeal.
How do I show ties to the Philippines after a refusal?
Show real, documented connections: work or freelance income, family responsibilities, studies, financial responsibilities and other true commitments. Never invent them.
Does the 30-Day Challenge guarantee my visa will be approved?
No. Nobody can guarantee approval, because the consulate decides. The challenge helps you prepare a complete, consistent and honest application.
Final reminder
For official information, consult the website of the consulate or visa center responsible for your application. This article is for educational purposes only and is not legal advice. Visa requirements vary by destination and individual circumstances. No coach, template or preparation method can guarantee visa approval.
More guidance

This article is for educational purposes only and is not legal advice. Visa requirements vary by destination and individual circumstances. No coach, template, or preparation method can guarantee visa approval.